How to Export Parsed Data from Airparser to Google Sheets with Zapier
Learn how to export parsed data from Airparser to Google Sheets automatically with Zapier. Step-by-step guide with tips for advanced workflows.


Handling extracted data manually is one of those repetitive tasks that slows down your workflow. Imagine parsing dozens of invoices, receipts, or lead capture emails — then having to copy and paste each result into a Google Sheet. Not only is it time-consuming, but it’s also prone to human error.
Airparser already offers a native Google Sheets integration, which is great for straightforward exports. But sometimes you need more:
- Multi-step workflows (e.g., send to Sheets, notify your team in Slack, and update your CRM).
- Post-processing before saving data (e.g., filtering, formatting, or splitting fields).
- More control over where and how data is stored.
That’s where Zapier comes in.
In this guide, we’ll show you step by step how to connect Airparser → Zapier → Google Sheets to automate data exports. By the end, every time Airparser parses a document, the data will flow directly into your spreadsheet — no copy-pasting required.
Why use Zapier with Airparser?
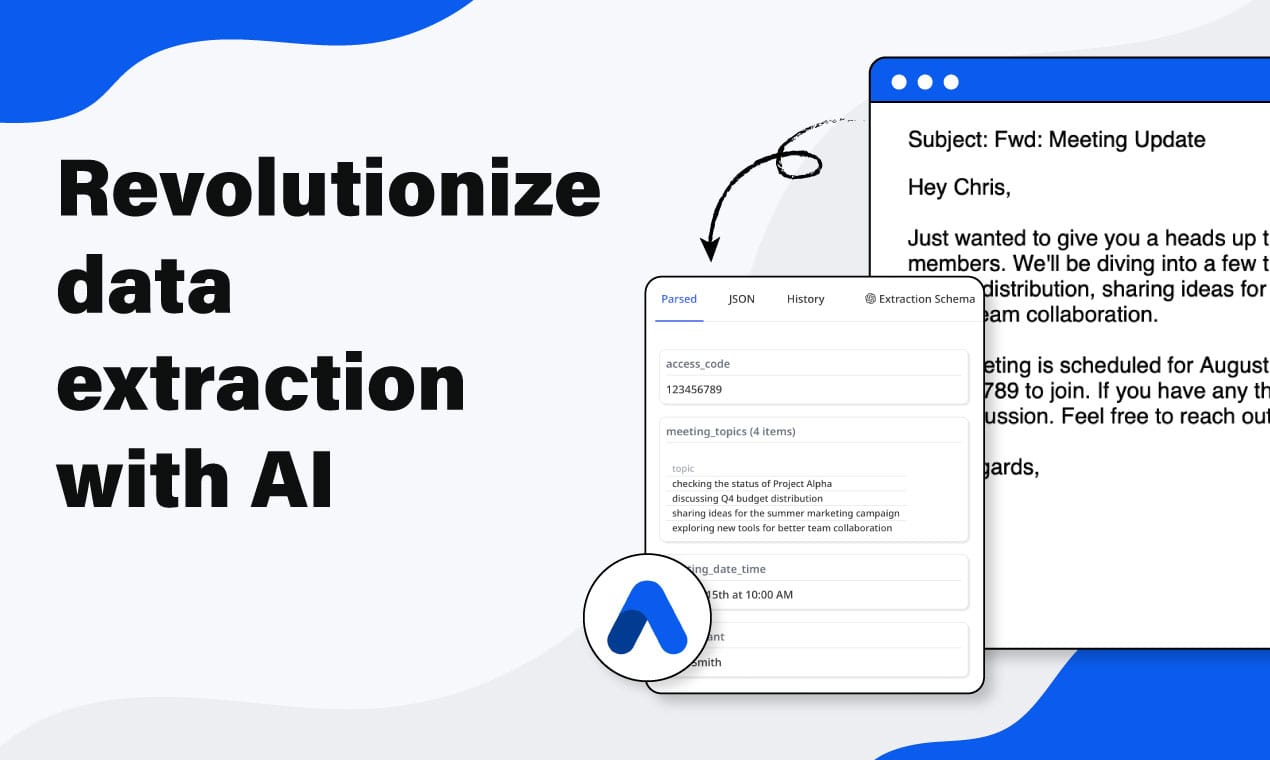
With Airparser, you can extract structured data from PDFs, images, Word docs, emails, and more. Zapier lets you take that parsed data and connect it to over 5,000 other apps.
If you only need a simple export to Google Sheets, the native integration works well. But if you want to:
- Build multi-step workflows (e.g., Sheets + Slack + email)
- Apply filters and conditions (e.g., only export invoices above $1,000)
- Handle advanced transformations before saving data
…then Zapier is the right choice.
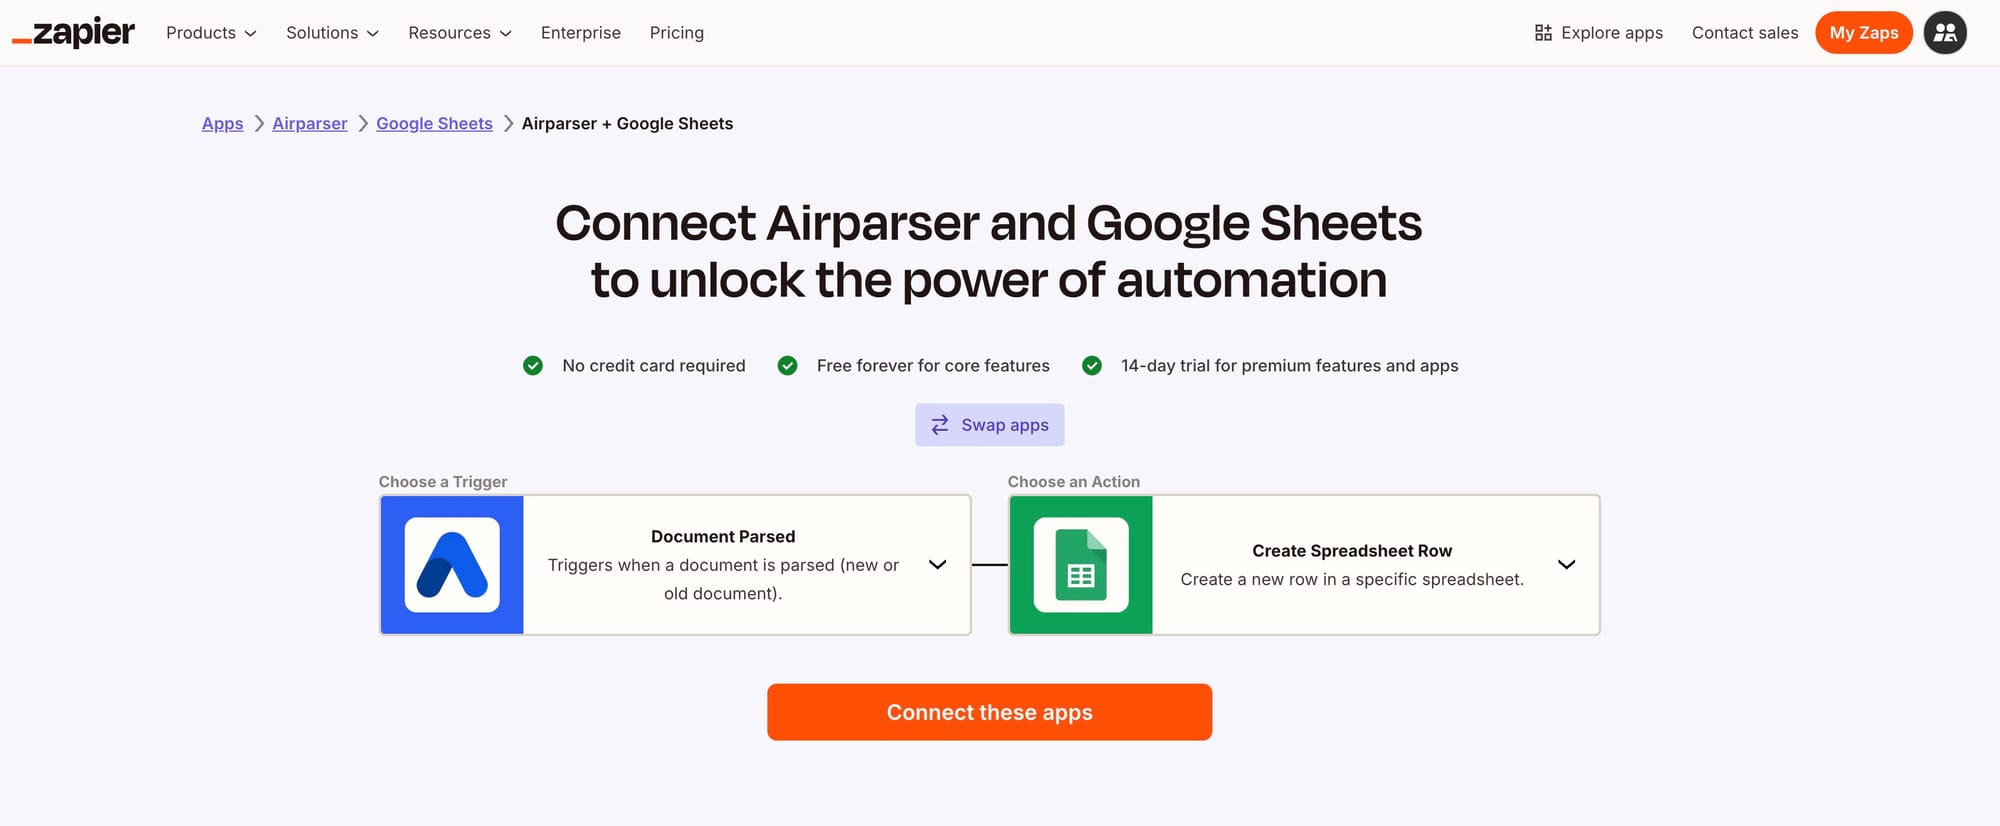
👉 Explore the Airparser + Google Sheets integration on Zapier
Prerequisites
Before starting, make sure you have:
- An Airparser account with at least one parsed document (Zapier needs test data to map fields).
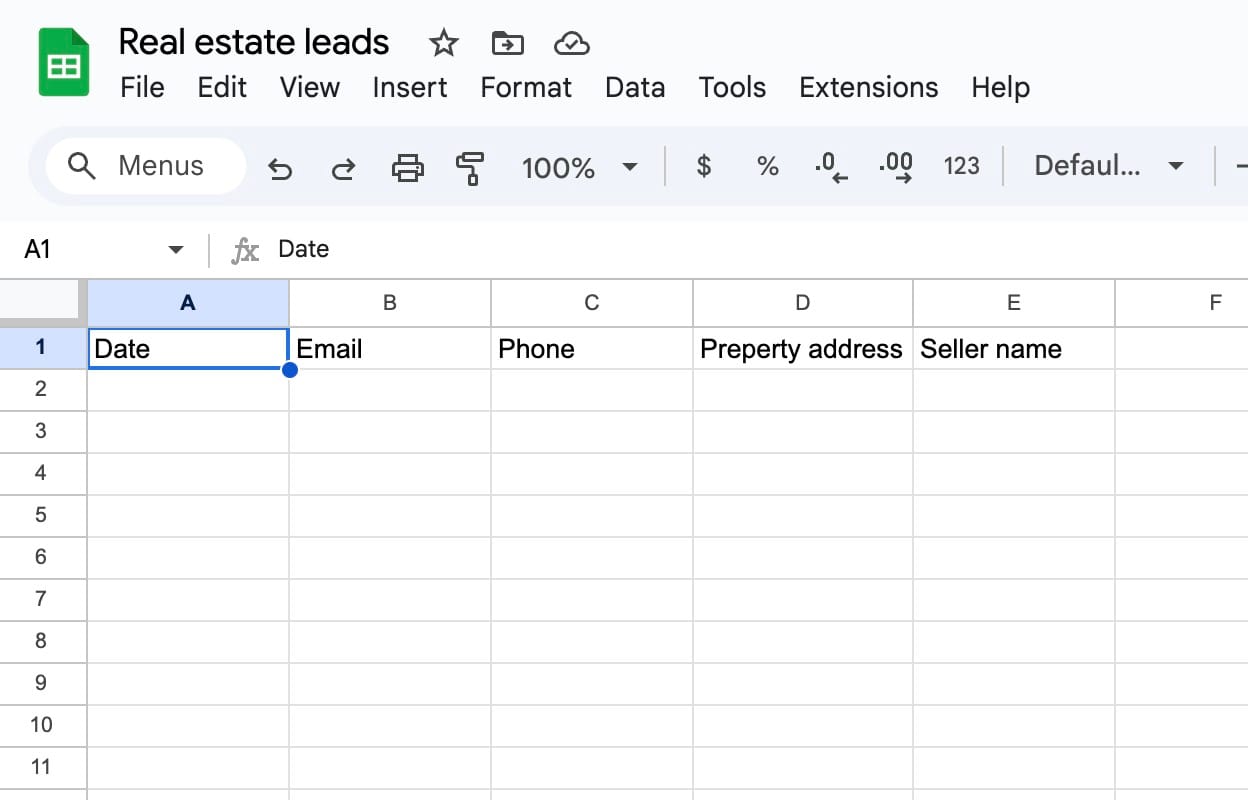
- A Google Sheet created with predefined column headers (e.g., Date, Email, Phone, Address). Zapier reads these headers so you can map Airparser fields to them.
- A Zapier account (free or paid).
Step 1: Create a new Zap
Log in to Zapier and create a new Zap.
- Trigger app: Airparser
- Trigger event: Document Parsed
This means that every time a document is parsed in Airparser, Zapier will run your workflow.
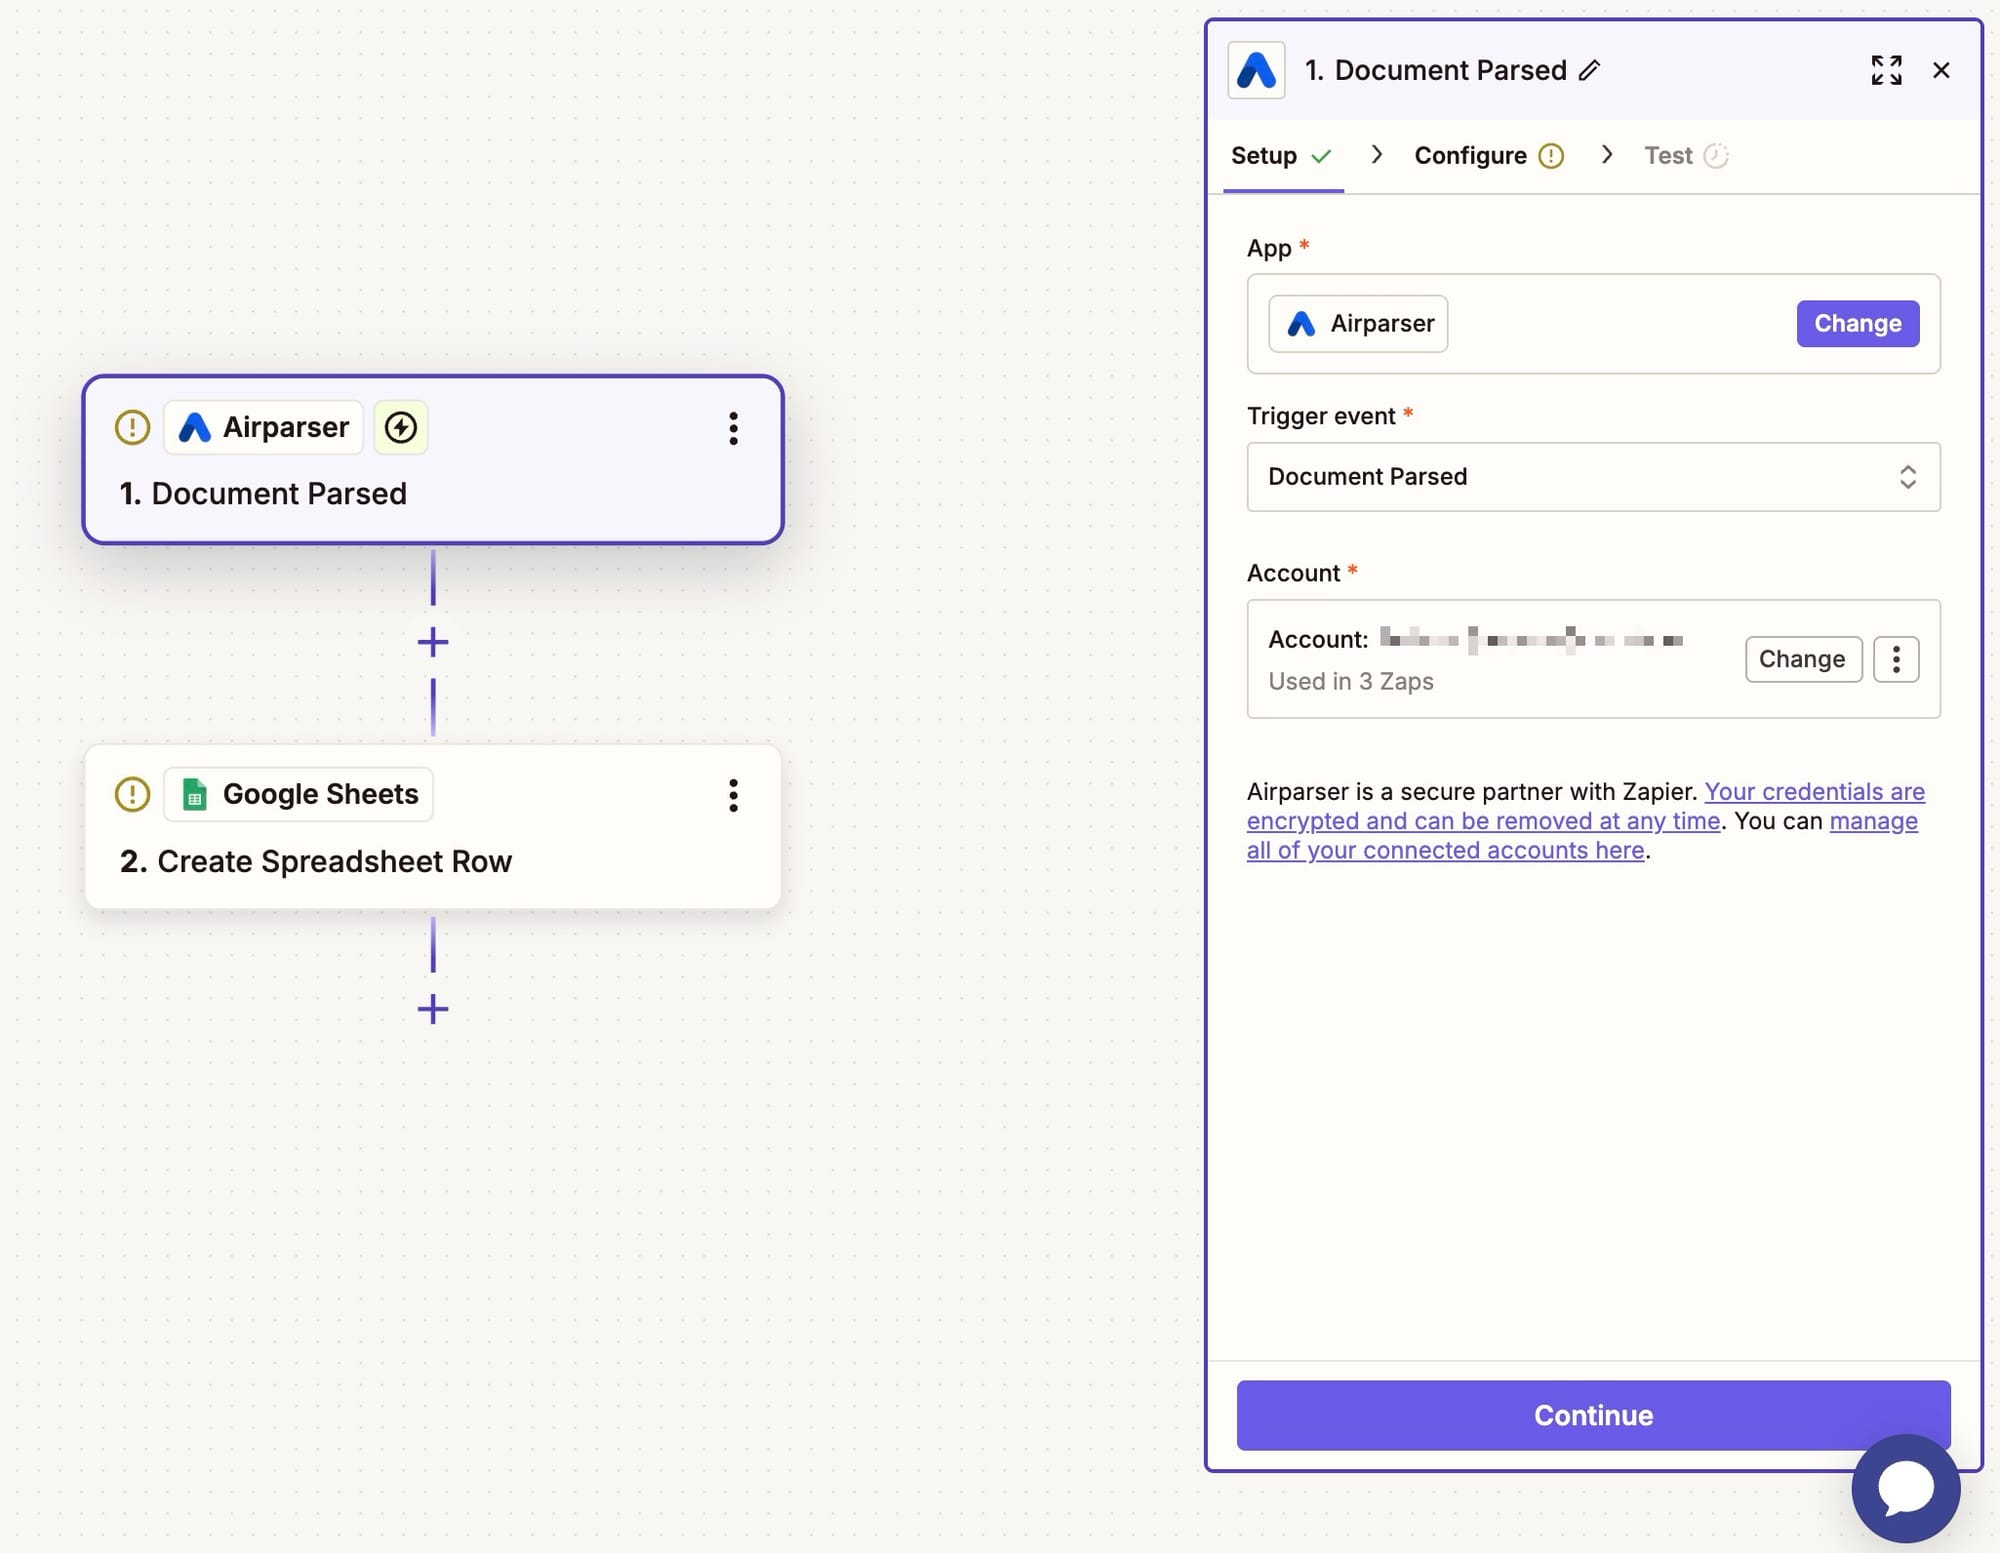
Step 2: Connect Airparser
Zapier will prompt you to log into Airparser. After connecting, select the Inbox you want to use (e.g., “Real estate leads,” “Invoices,” or “Receipts”).

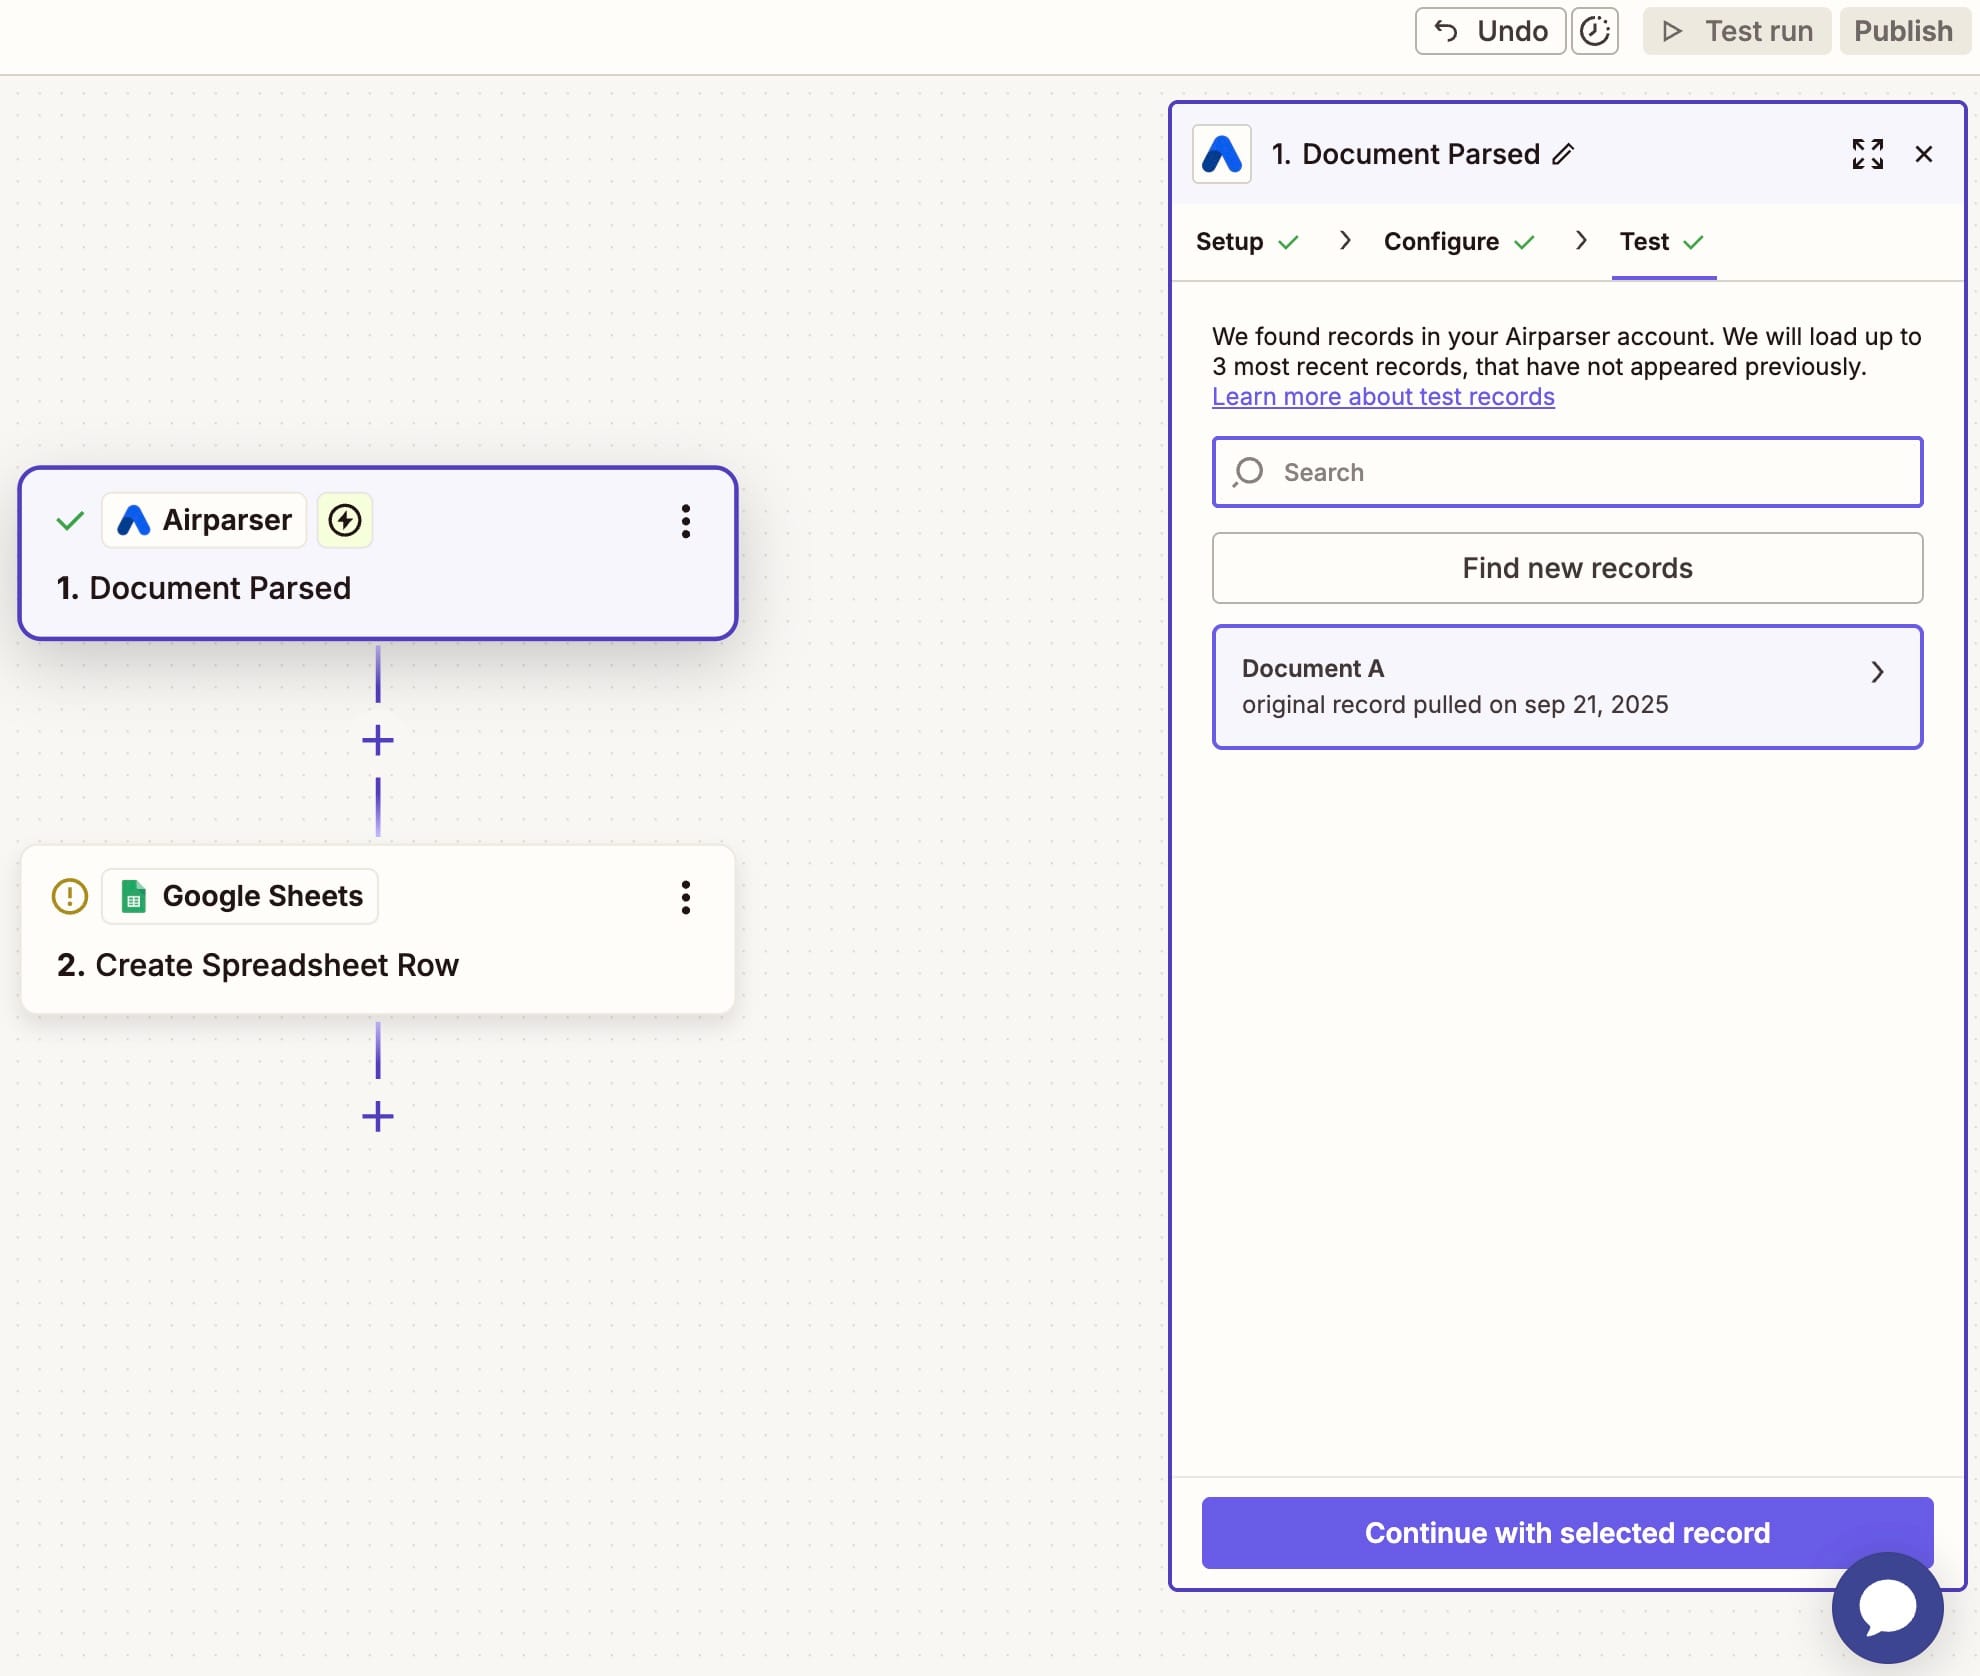
Step 3: Test the trigger
Zapier will fetch a sample parsed document from your selected inbox. This ensures you have real data (date, email, phone, etc.) available to map later.
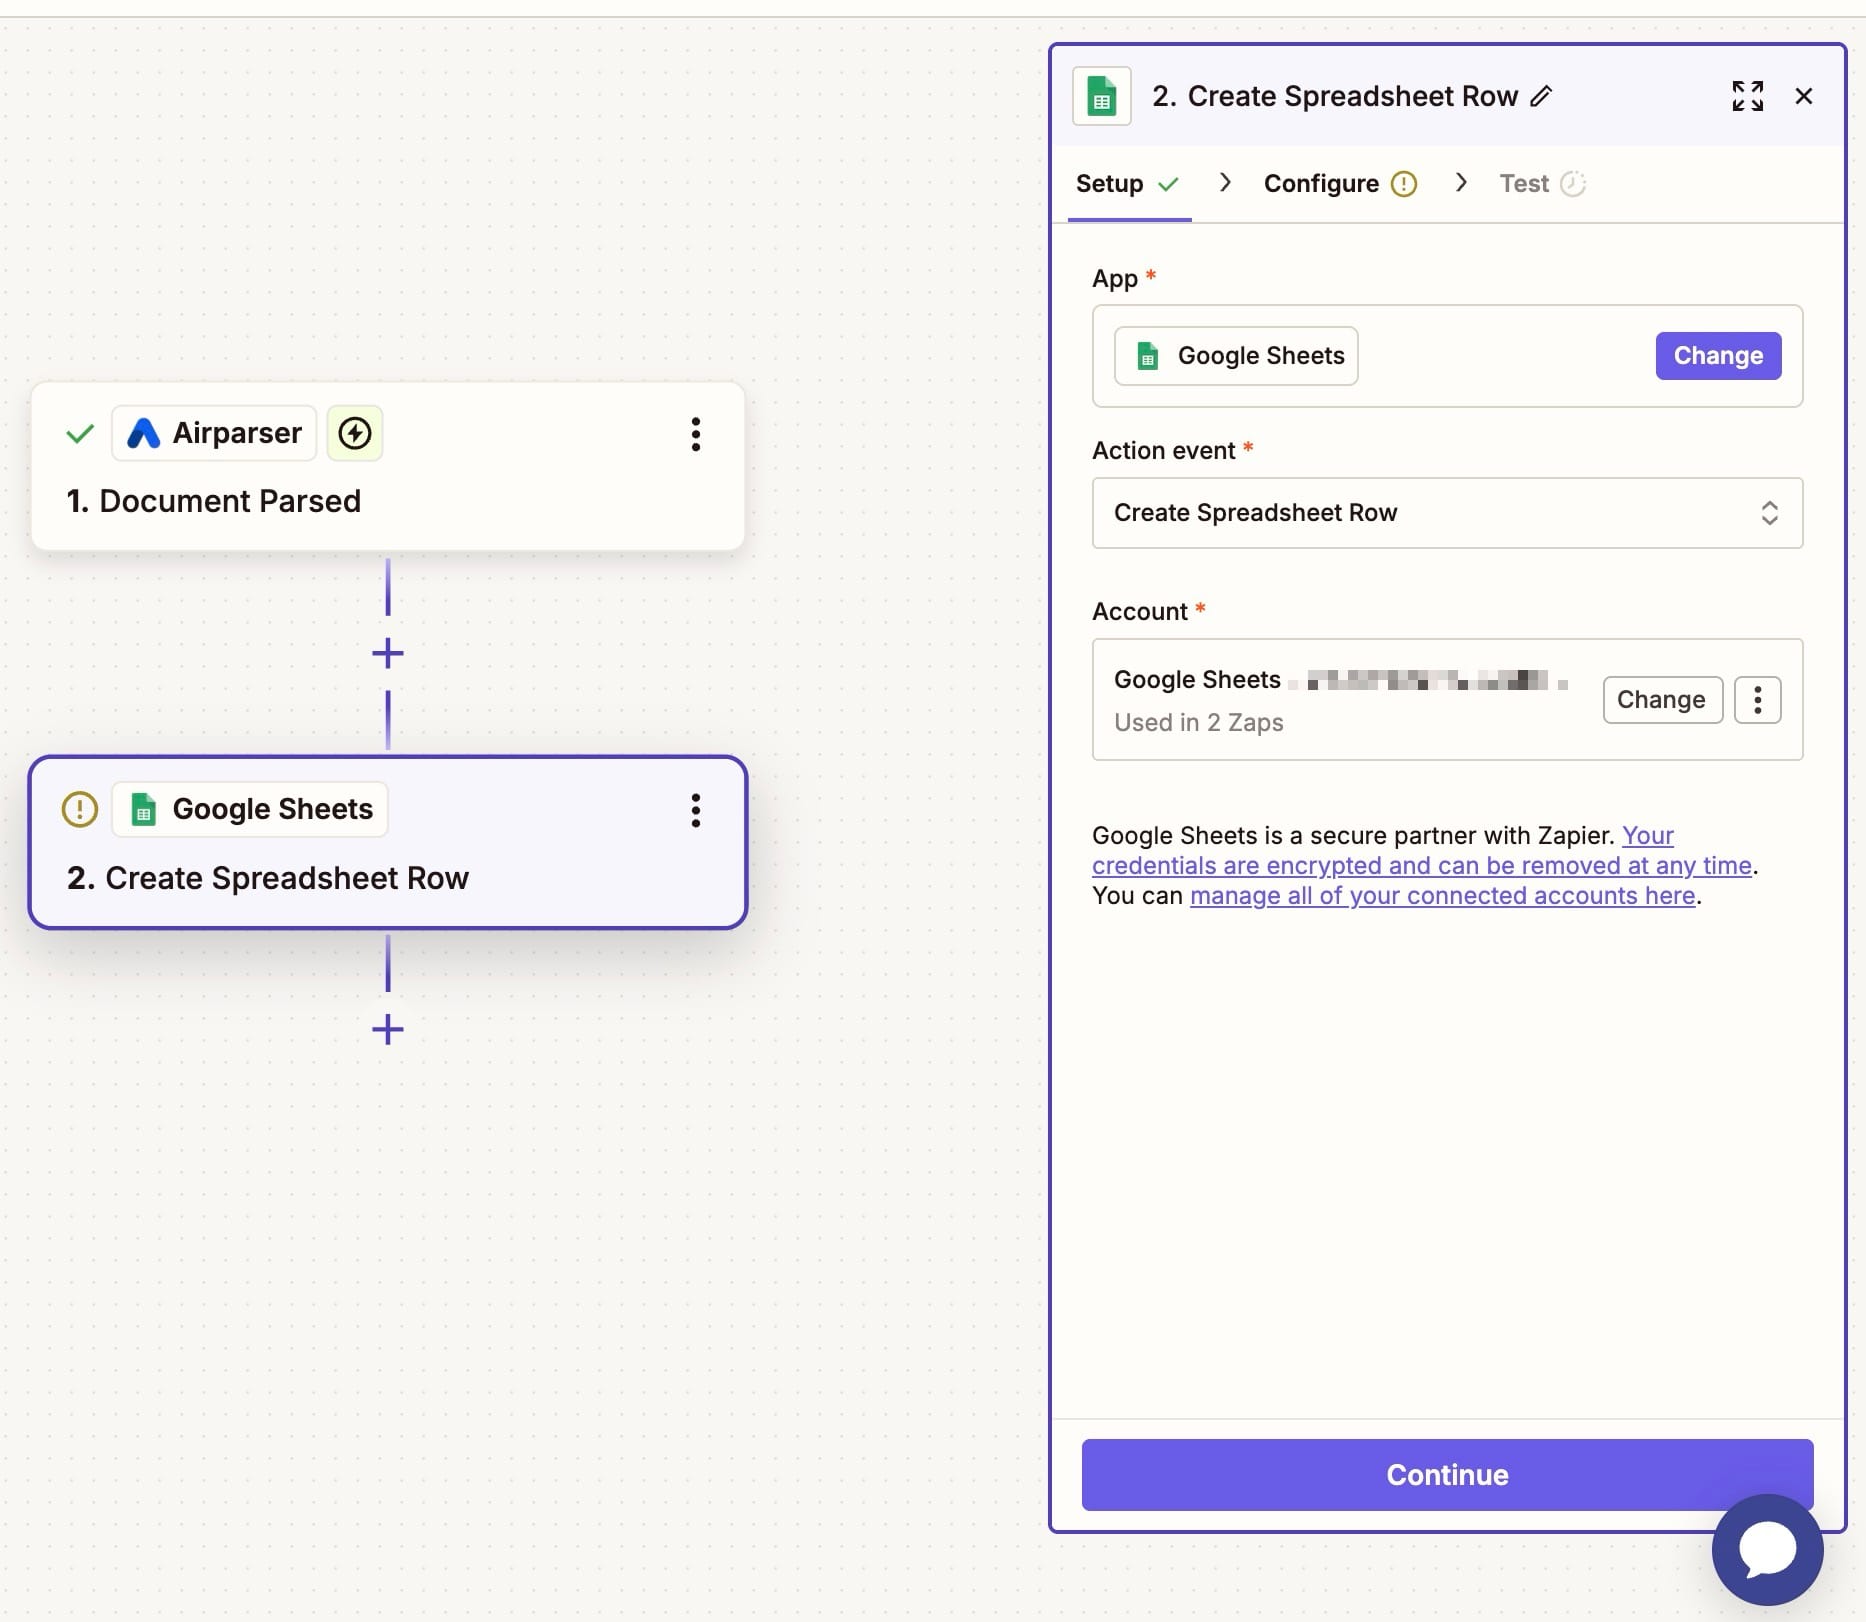
Step 4: Add Google Sheets as the action
Next, add Google Sheets as the action app.
When choosing the action event, you have two options:
- Create Spreadsheet Row → Best for simple data like contact details (Name, Phone, Email).
- Create Multiple Spreadsheet Rows → Best for exporting lists, such as invoice line items, ordered products, or expense breakdowns.

Step 5: Connect Google Sheets
Log into your Google account and allow Zapier access. Then configure:
- Drive → Usually “My Google Drive”
- Spreadsheet → Select your target sheet (e.g., “Real estate leads”)
- Worksheet → Choose the sheet tab (e.g., “Sheet1”)
Zapier will automatically load the column headers from your spreadsheet so you can map Airparser fields to them.
Step 6: Map extracted fields to columns
Now comes the fun part: connecting Airparser data fields to Google Sheets columns.
Example:
- Date → Parsed date from document
- Email → Extracted email field
- Phone → Extracted phone number
- Property address → Extracted address
- Seller name → Extracted seller name
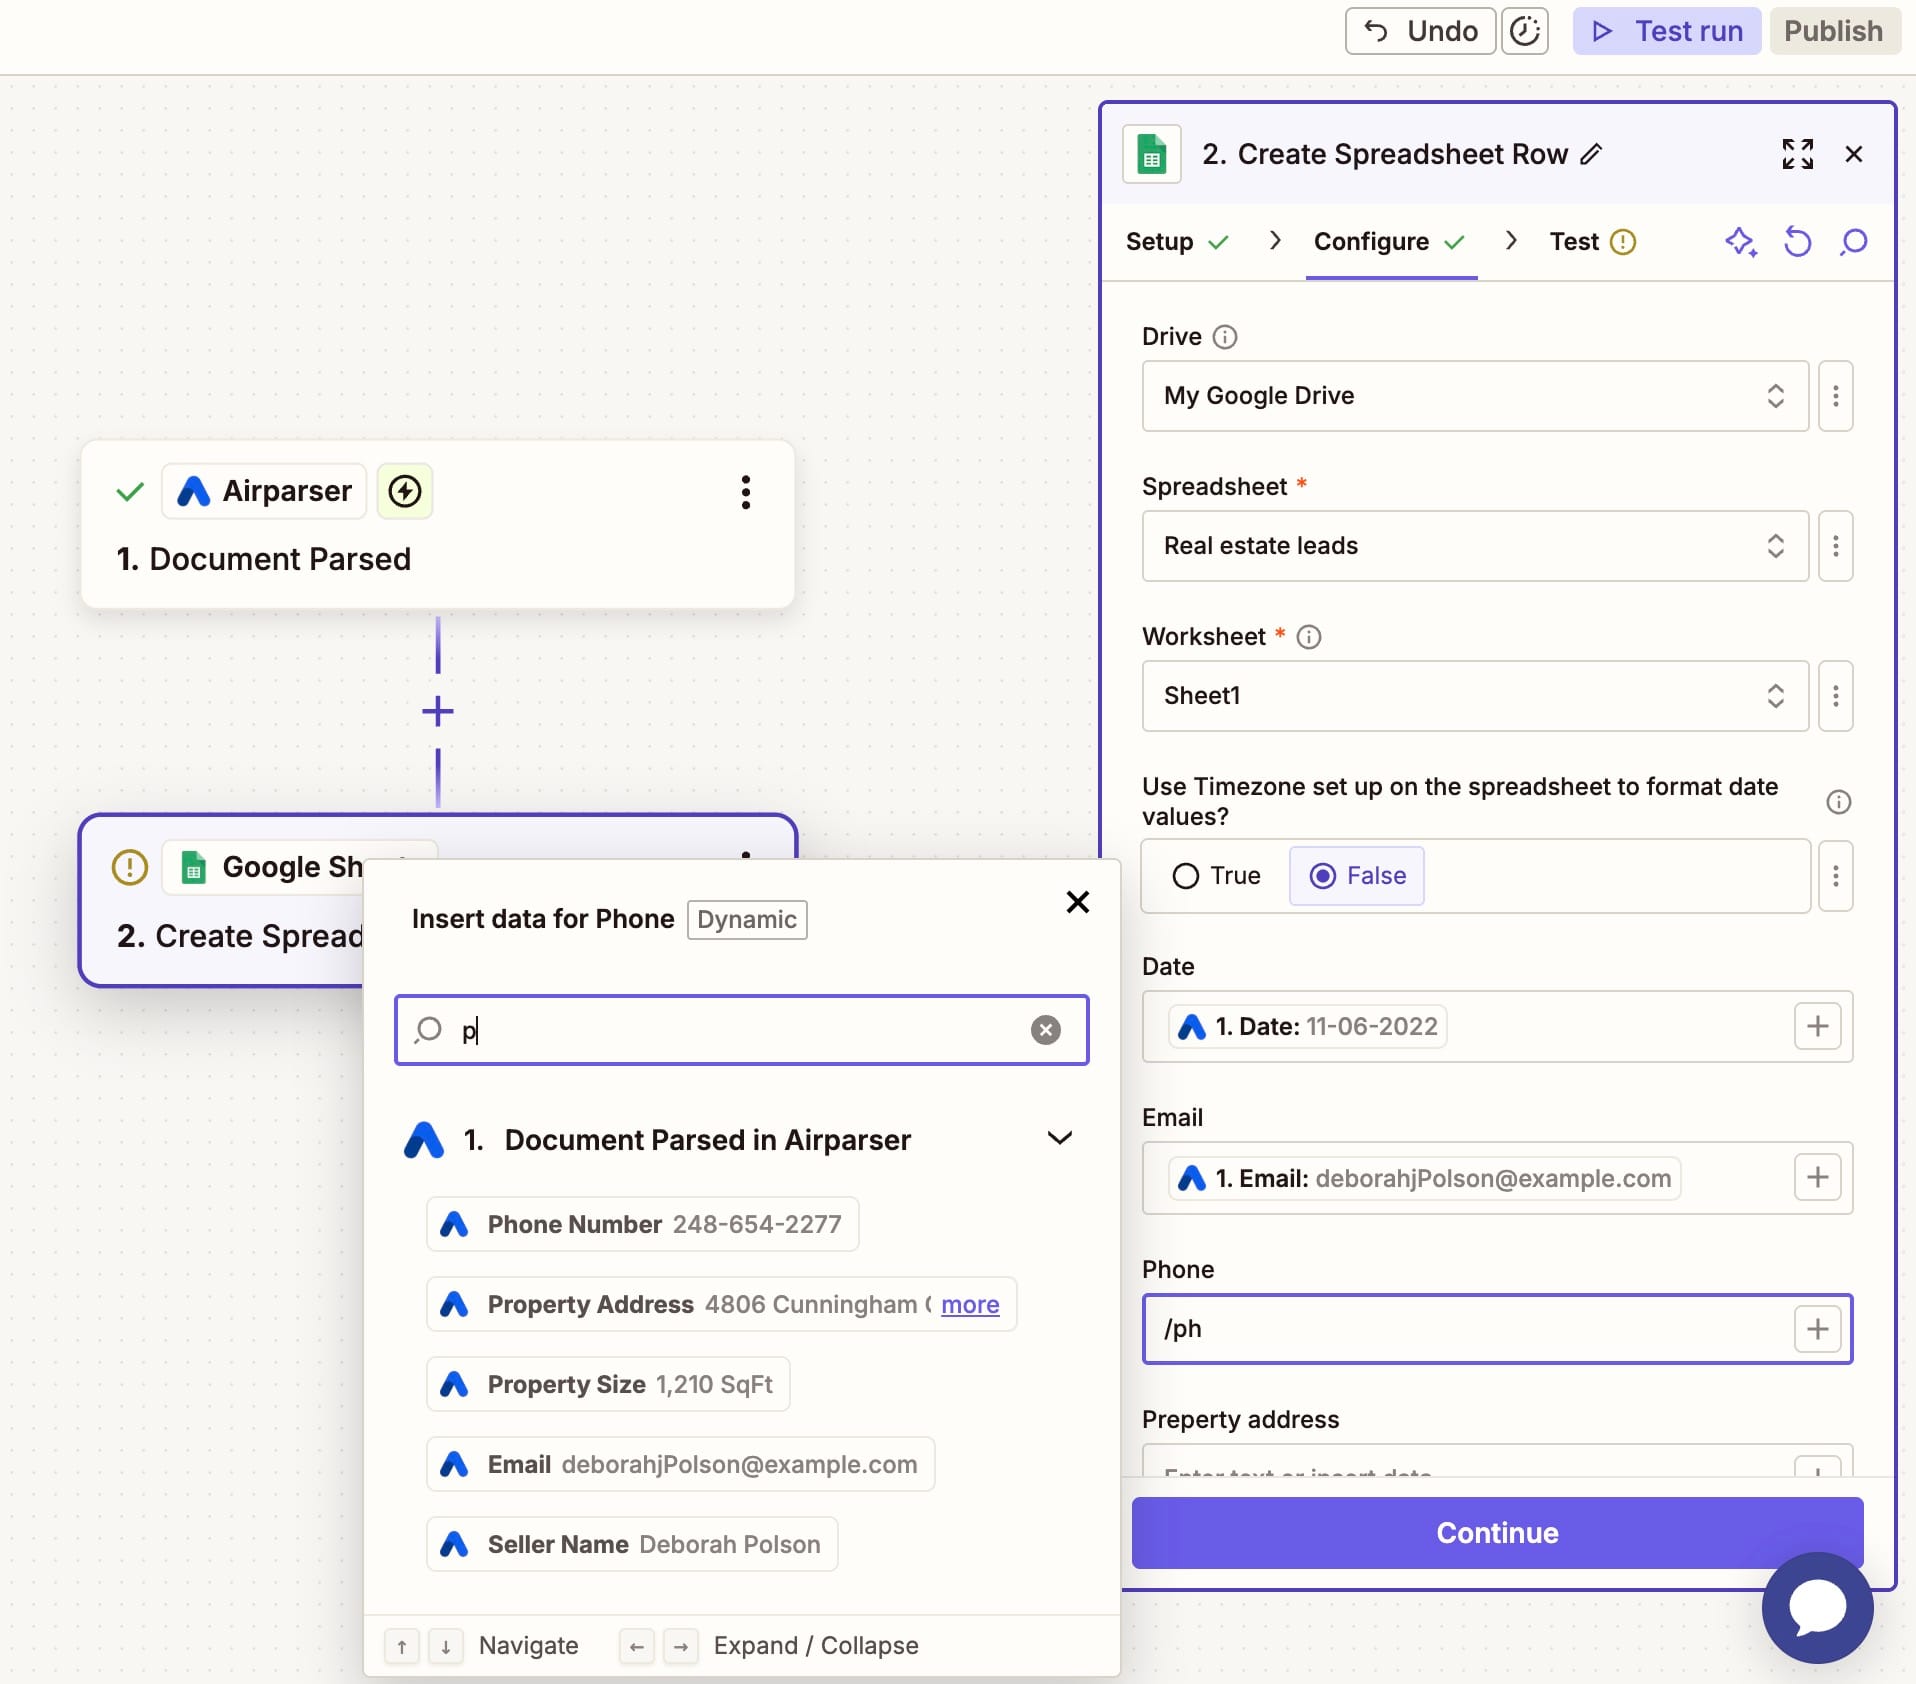
Tip: if your documents contain lists (like invoice items), use Create Multiple Spreadsheet Rows to map repeating fields into multiple rows.
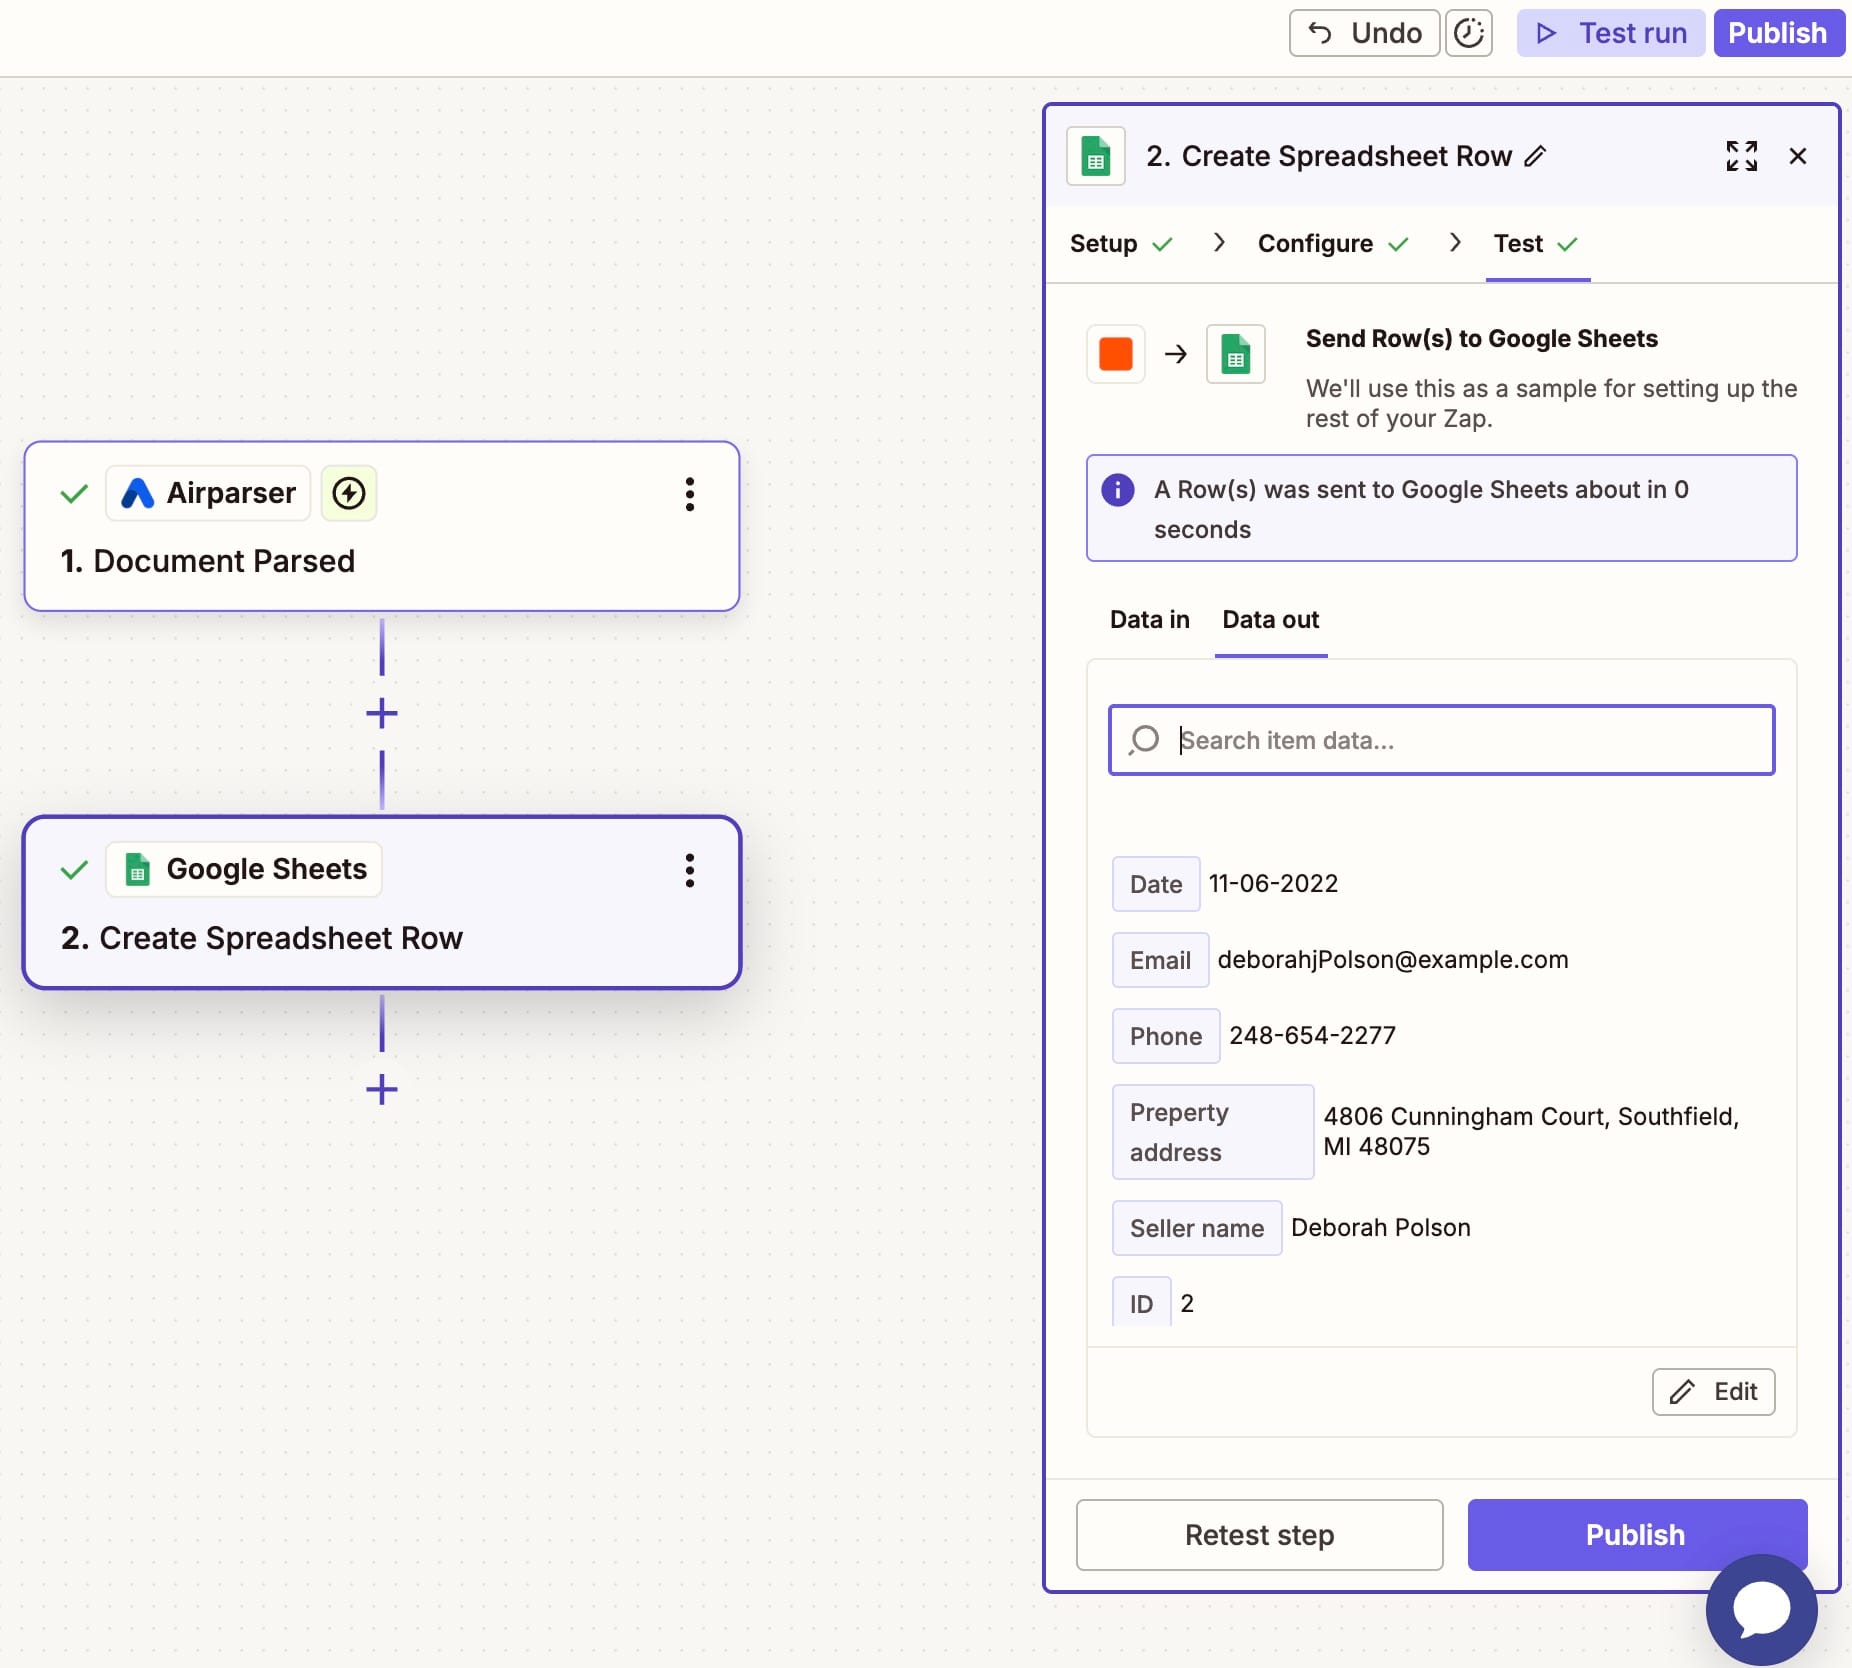
Step 7: Test the Zap
Click Test step to send sample data into your Google Sheet.
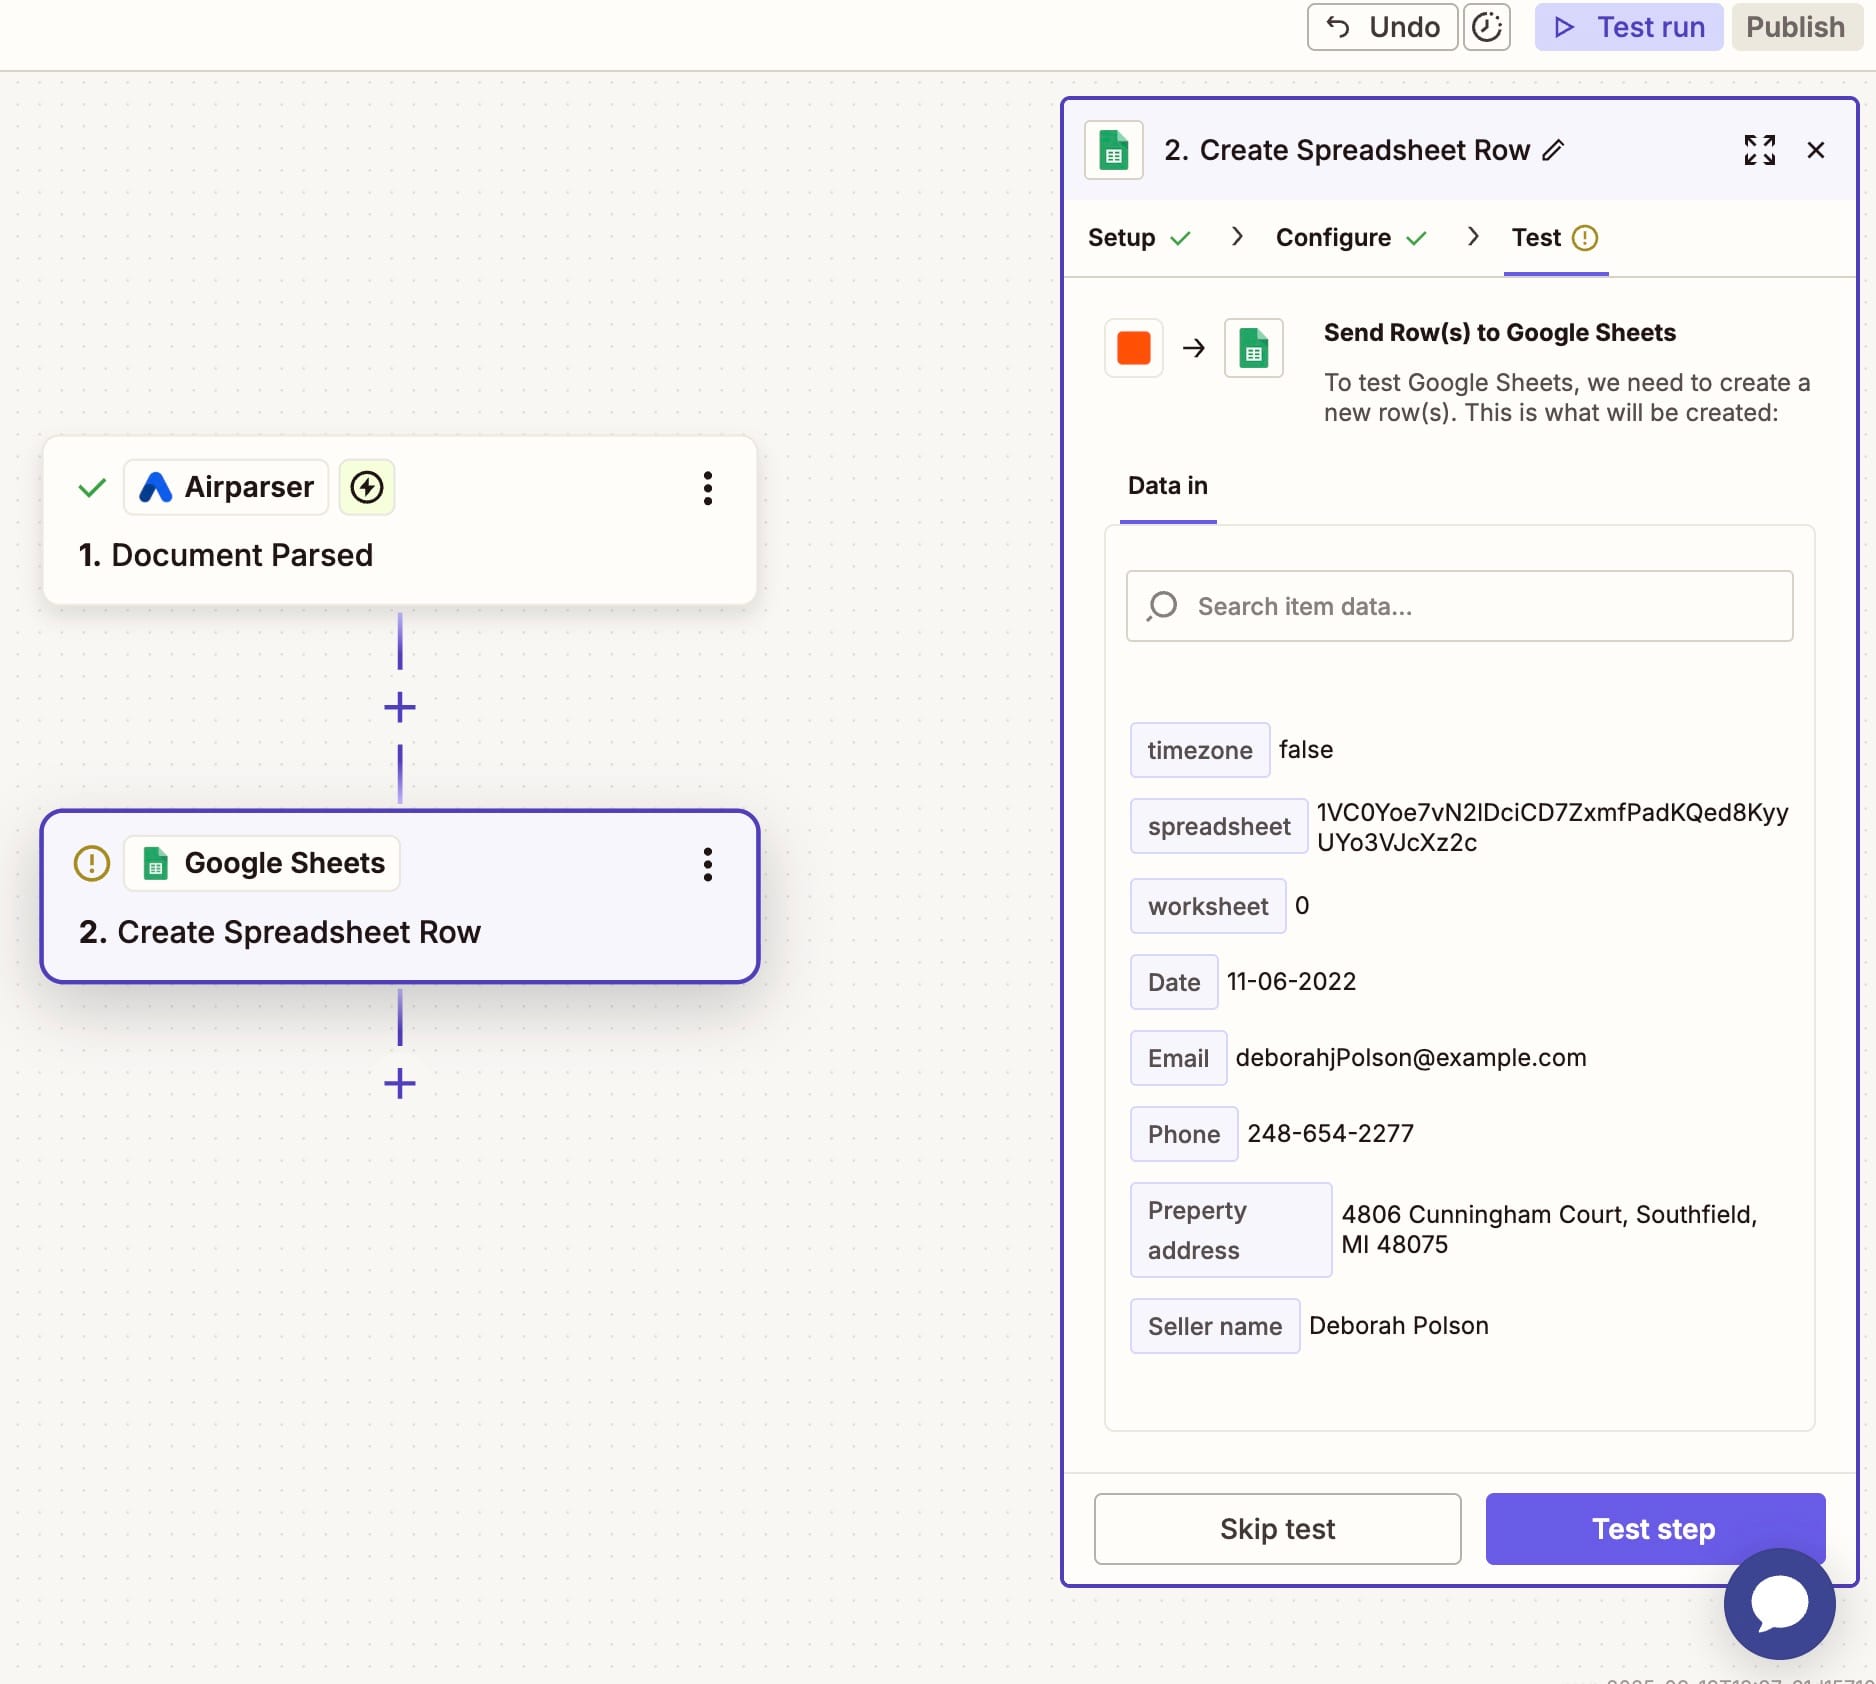
Open your sheet — you should see a new row filled with the parsed values.
Step 8: Publish the Zap
Once testing looks good, click Publish to activate your Zap.
From now on, every time a new document is parsed in Airparser, the extracted data will be automatically added to your spreadsheet.
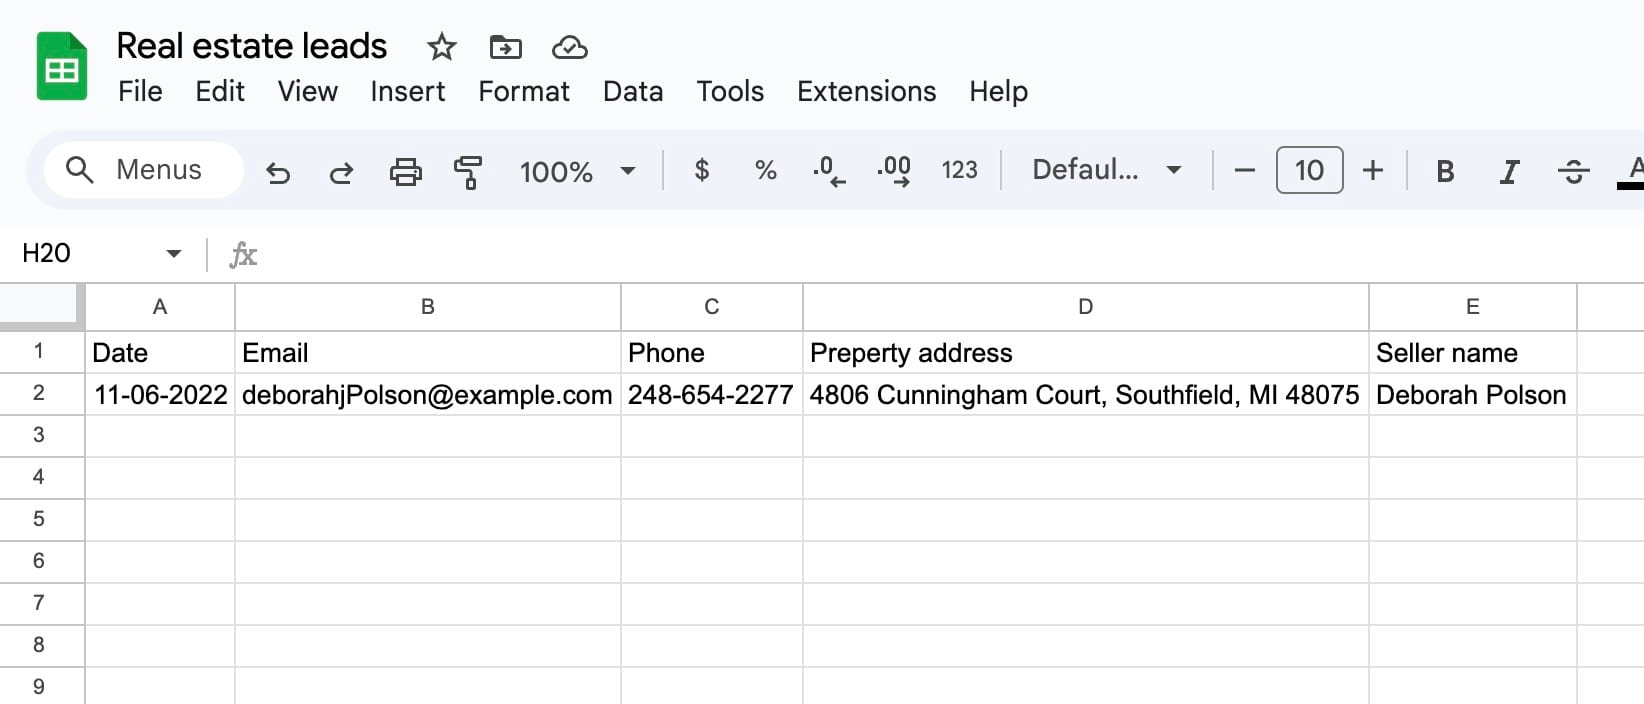
Expected result
- Each parsed document from Airparser creates a new row in your Google Sheet.
- If exporting lists, multiple rows will be created (one for each item).
- Data is always up to date and automatically synced.
Tips & Best Practices
- Use separate spreadsheets for different document types (e.g., one for invoices, one for leads).
- Prepare your Google Sheet with clear headers before connecting to Zapier.
- Reprocess any document in your Airparser inbox to test exports at any time.
- Leverage Zapier filters to create conditions (e.g., only export data when a field is not empty).
- Expand workflows by adding more actions: send parsed data to Slack, CRMs, or accounting tools.
Wrapping up
With this setup, you’ve automated the flow from document parsing to structured storage. Instead of copy-pasting data, every parsed document in Airparser is automatically exported to Google Sheets — where you can analyze, share, or integrate it further.
If you need a simple setup, Airparser’s native Sheets integration is the fastest option. But for more complex workflows, Zapier is the way to go.
👉 Ready to try it? Connect Airparser with Google Sheets on Zapier and start automating your document workflows today.