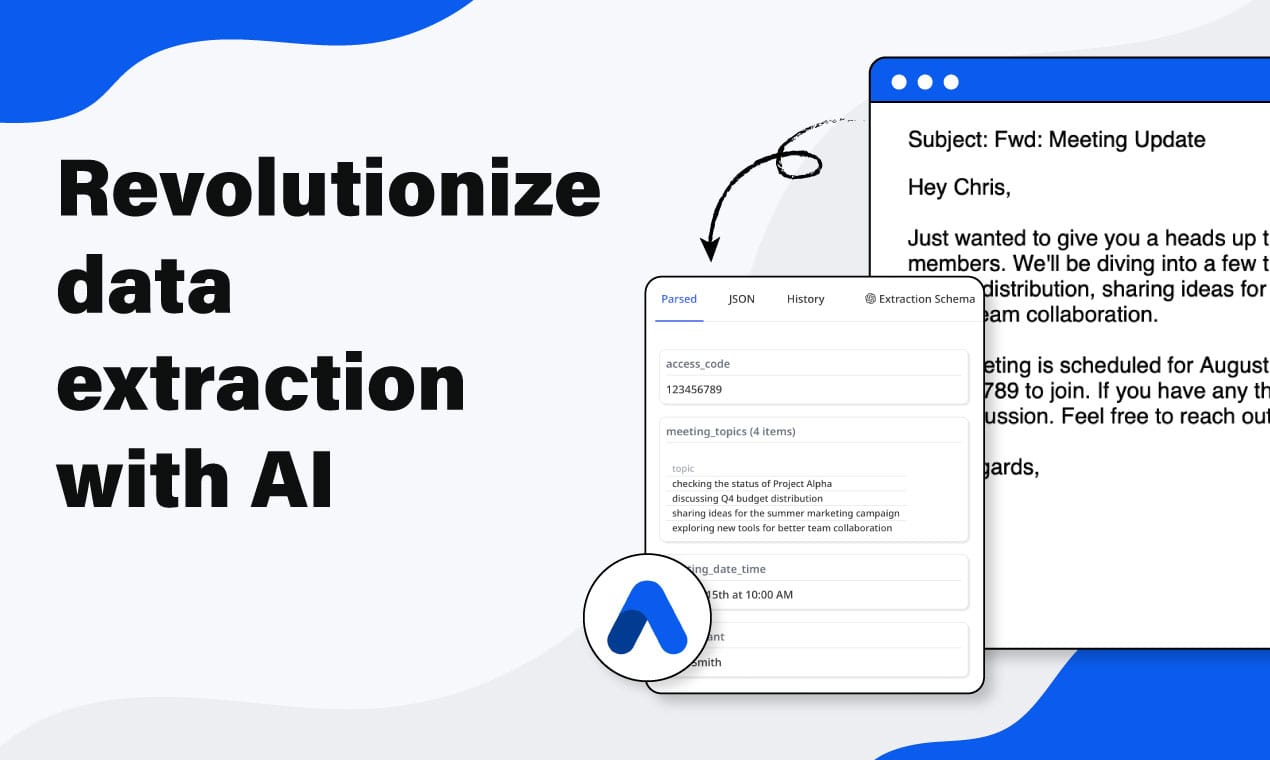
How to Parse Documents via API and Get Structured JSON Back
Learn the easiest Airparser API flow: create an inbox, optionally let Airparser auto-generate the schema from your first file, upload with sync, and get JSON back fast.


If you are building a document workflow into your own application, the simplest question is usually this: Can I upload a document and get structured JSON back in one request?
With Airparser, the answer is yes.
In this guide, we will look at the easiest possible Airparser API workflow: create an inbox, optionally let Airparser generate the extraction schema from your first document, upload a file using the sync endpoint, and receive structured JSON back in the same response.
The goal here is not to cover every advanced integration pattern. It is to show how easy it is to get started.
When should you parse documents via API?
API-based parsing makes sense when documents already arrive inside a system you control.
Common examples include:
- users upload PDFs in your web app
- your backend receives document attachments
- you want parsed JSON inside your own product
- you need to connect document parsing to your own logic
If you just want occasional manual uploads, the Airparser UI may be enough. But if you want your application to send files and receive structured data automatically, the API is the easier fit.
The easiest possible workflow
The basic setup is very simple:
- create an inbox
- either define the extraction schema yourself or let Airparser auto-generate it from the first uploaded document
- upload a document with the sync endpoint
- read the parsed JSON from the response
That is the flow we will focus on below.
Step 1: Create an inbox
In Airparser, every parser starts with an inbox. An inbox groups together similar documents and stores the extraction schema used for parsing them.
That means you usually want one inbox per document family, for example:
- one inbox for invoices
- one inbox for resumes
- one inbox for purchase orders
- one inbox for lead emails
You can create an inbox manually in the UI, but Airparser also supports creating one via API.
The public API endpoint is:
POST /inboxes/createA simple curl example looks like this:
curl -X POST https://api.airparser.com/inboxes/create \
  -H "X-API-Key: <YOUR_API_KEY>" \
  -H "Content-Type: application/json" \
  -d '{
    "name": "Invoices",
    "llm_engine": "text"
  }'
The llm_engine parameter accepts either text or vision. Vision works well for most document types — including standard PDFs — and is generally the safer default. The text engine is better suited for documents with very small or dense text that may be harder to process visually.
Step 2: Choose how the schema gets created
This is the part that makes the Airparser flow feel simpler than many people expect.
You have two options:
- Option 1: create the extraction schema yourself using the schema API
- Option 2: upload the first document to an empty inbox and let Airparser generate the extraction schema automatically based on that document
If you want maximum control from the start, define the schema manually.
If you want the fastest possible first integration, create an empty inbox and send the first representative document with the sync endpoint. Airparser can generate the extraction schema from that first document, save it to the inbox, and return parsed data in the same flow.
That means your first API test can be surprisingly short: create inbox, upload document, inspect JSON.
Option 1: Create the schema manually
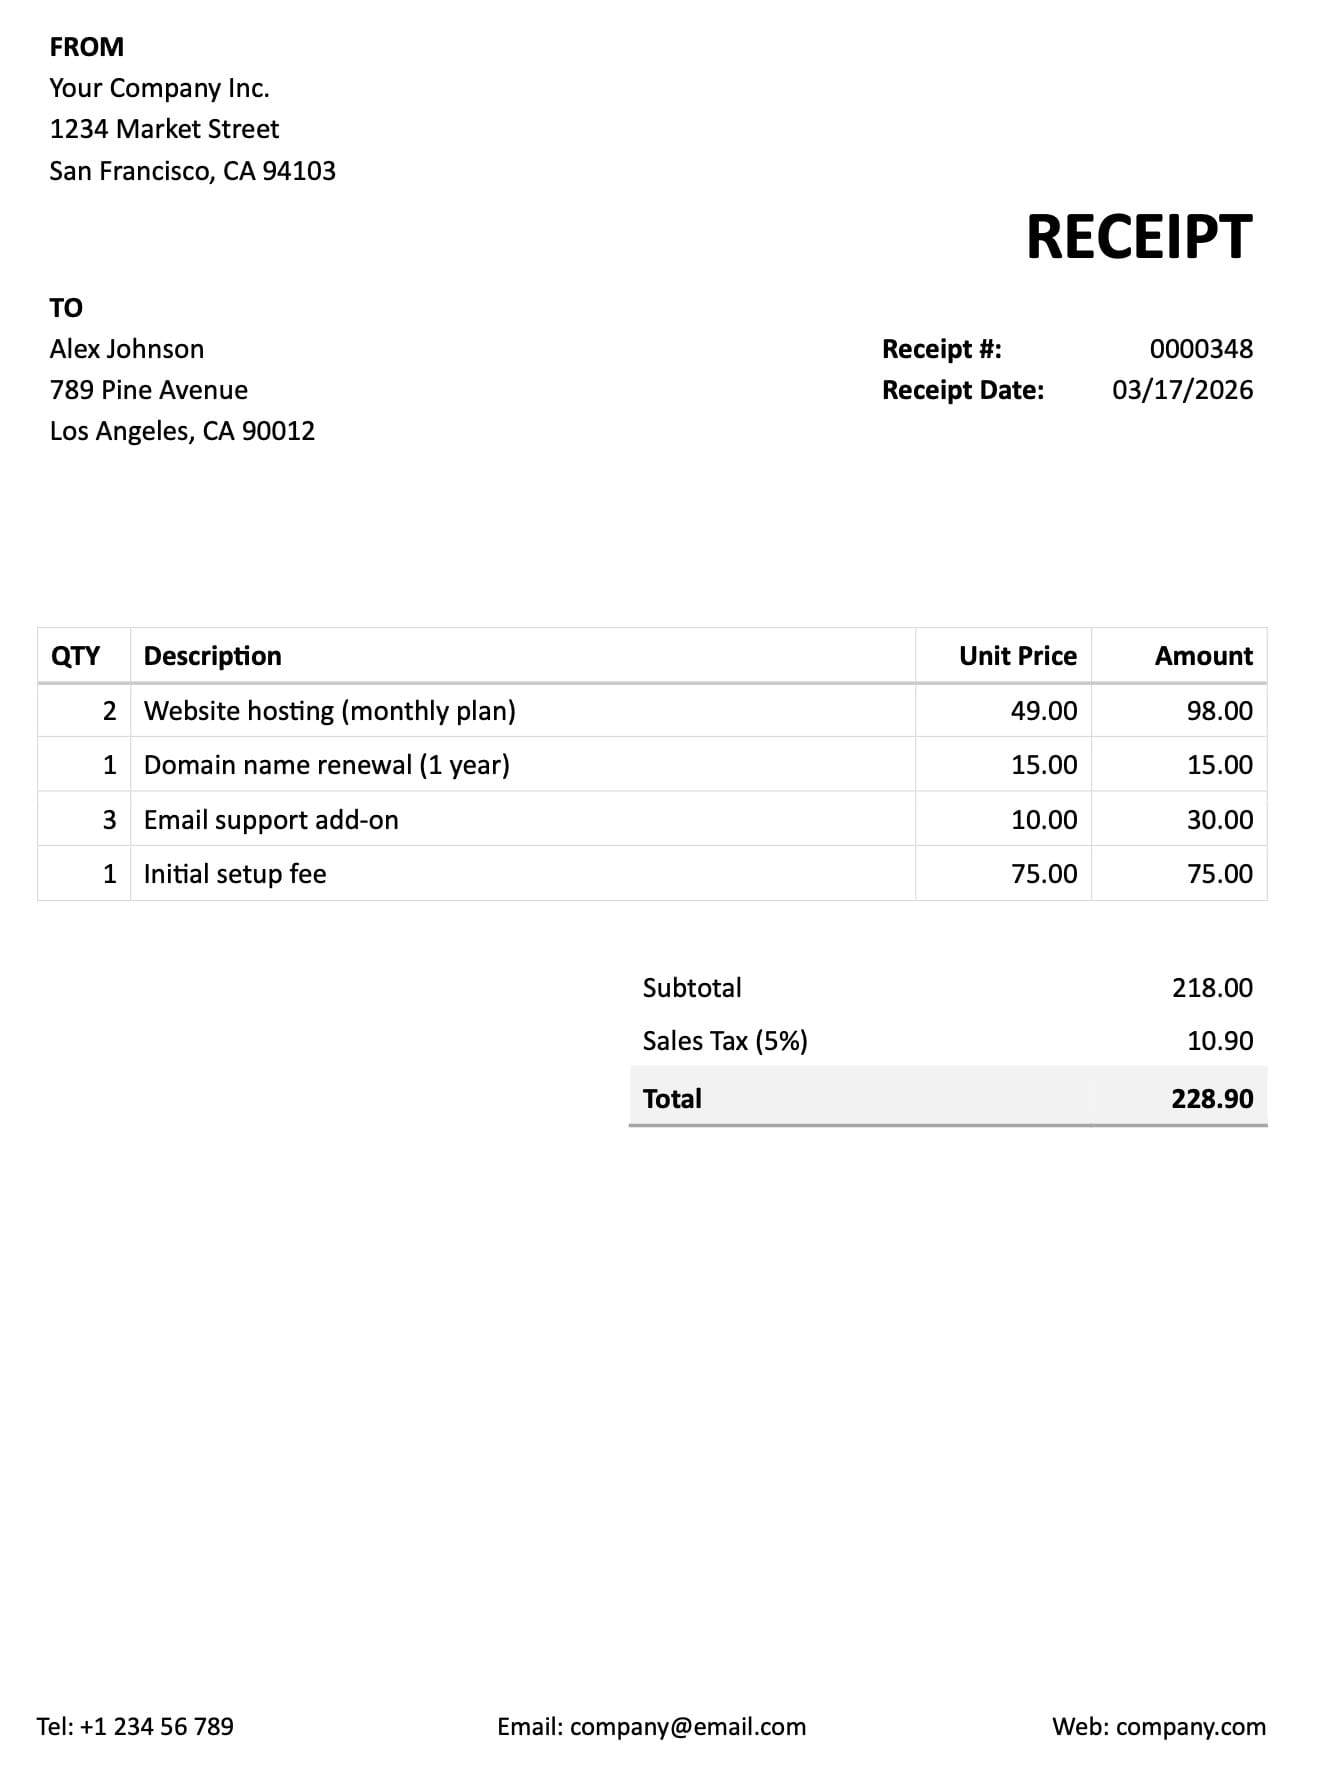
The extraction schema tells Airparser what data you want back.
For example, if you are parsing invoices, your schema might include:
invoice_numberinvoice_datevendor_nametotal_amount
You can create or update the schema through the API at:
POST /inboxes/<inbox_id>/schemaA simple curl example looks like this:
curl -X POST https://api.airparser.com/inboxes/<INBOX_ID>/schema \
  -H "X-API-Key: <YOUR_API_KEY>" \
  -H "Content-Type: application/json" \
  -d '{
    "fields": [
      {
        "type": "scalar",
        "data": {
          "name": "invoice_number",
          "description": "Invoice number",
          "type": "string"
        }
      },
      {
        "type": "scalar",
        "data": {
          "name": "total_amount",
          "description": "Total invoice amount",
          "type": "decimal"
        }
      }
    ]
  }'
Airparser’s API also supports more structured field types such as lists, objects, and enums, but the important point here is simple: the schema defines the JSON shape you want back.
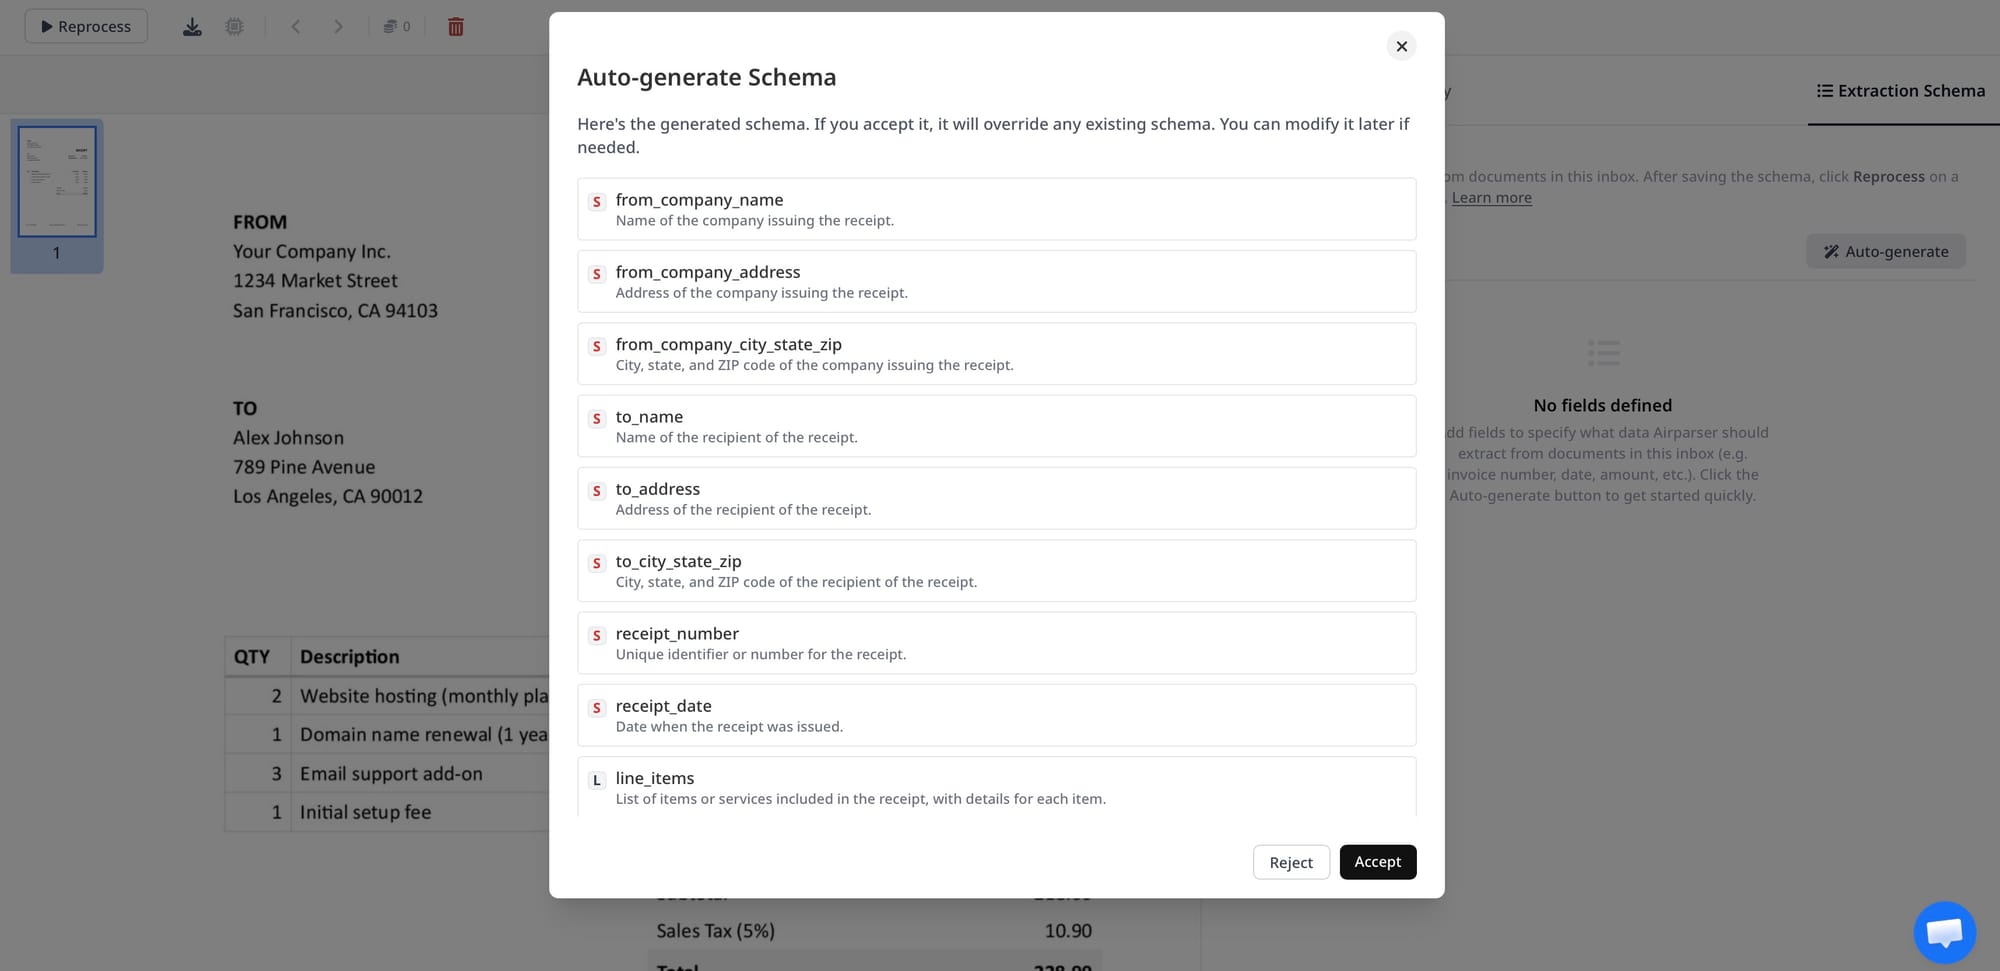
Option 2: Let Airparser generate the schema from the first document
Airparser also supports automatic schema generation based on document content. This is one of the fastest ways to get from zero to a working parser.
If your inbox is empty and does not have an extraction schema yet, you can upload the first representative document and let Airparser generate the schema for you. That schema is then saved at the inbox level for future documents.
This option is especially useful when:
- you want to test the API quickly
- you want to see what structured output Airparser produces before refining the schema
- you are building a proof of concept and want to avoid schema setup upfront
In practice, that gives you a very simple first milestone: upload one real document, get parsed JSON back, then refine the schema later if needed.
Step 3: Upload the document with the sync endpoint
This is the easiest part.
Airparser’s public API base URL is:
https://api.airparser.comAuthentication uses the X-API-Key header.
The full endpoint reference, including all parameters and response formats, is available in the public API documentation.
To upload and parse a document in one step, use:
POST /inboxes/<inbox_id>/upload-syncThis endpoint uploads the document, waits for parsing to complete, and returns the extracted result in the same response.
That is exactly why it is the best place to start.
Here is the official-style curl pattern you can copy and paste in a terminal:
curl -X POST https://api.airparser.com/inboxes/<INBOX_ID>/upload-sync \
  -H "X-API-Key: <YOUR_API_KEY>" \
  -F 'file=@./invoice.pdf' \
  -F 'meta={"external_id":42}'
The optional meta object is useful when you want to pass your own identifier through the workflow. Airparser includes it in the parsed JSON as the __meta__ field.
According to the official API docs, supported sync formats include EML, PDF, HTML, TXT, Markdown, DOCX, XLSX, CSV, JPG, PNG, and BMP.
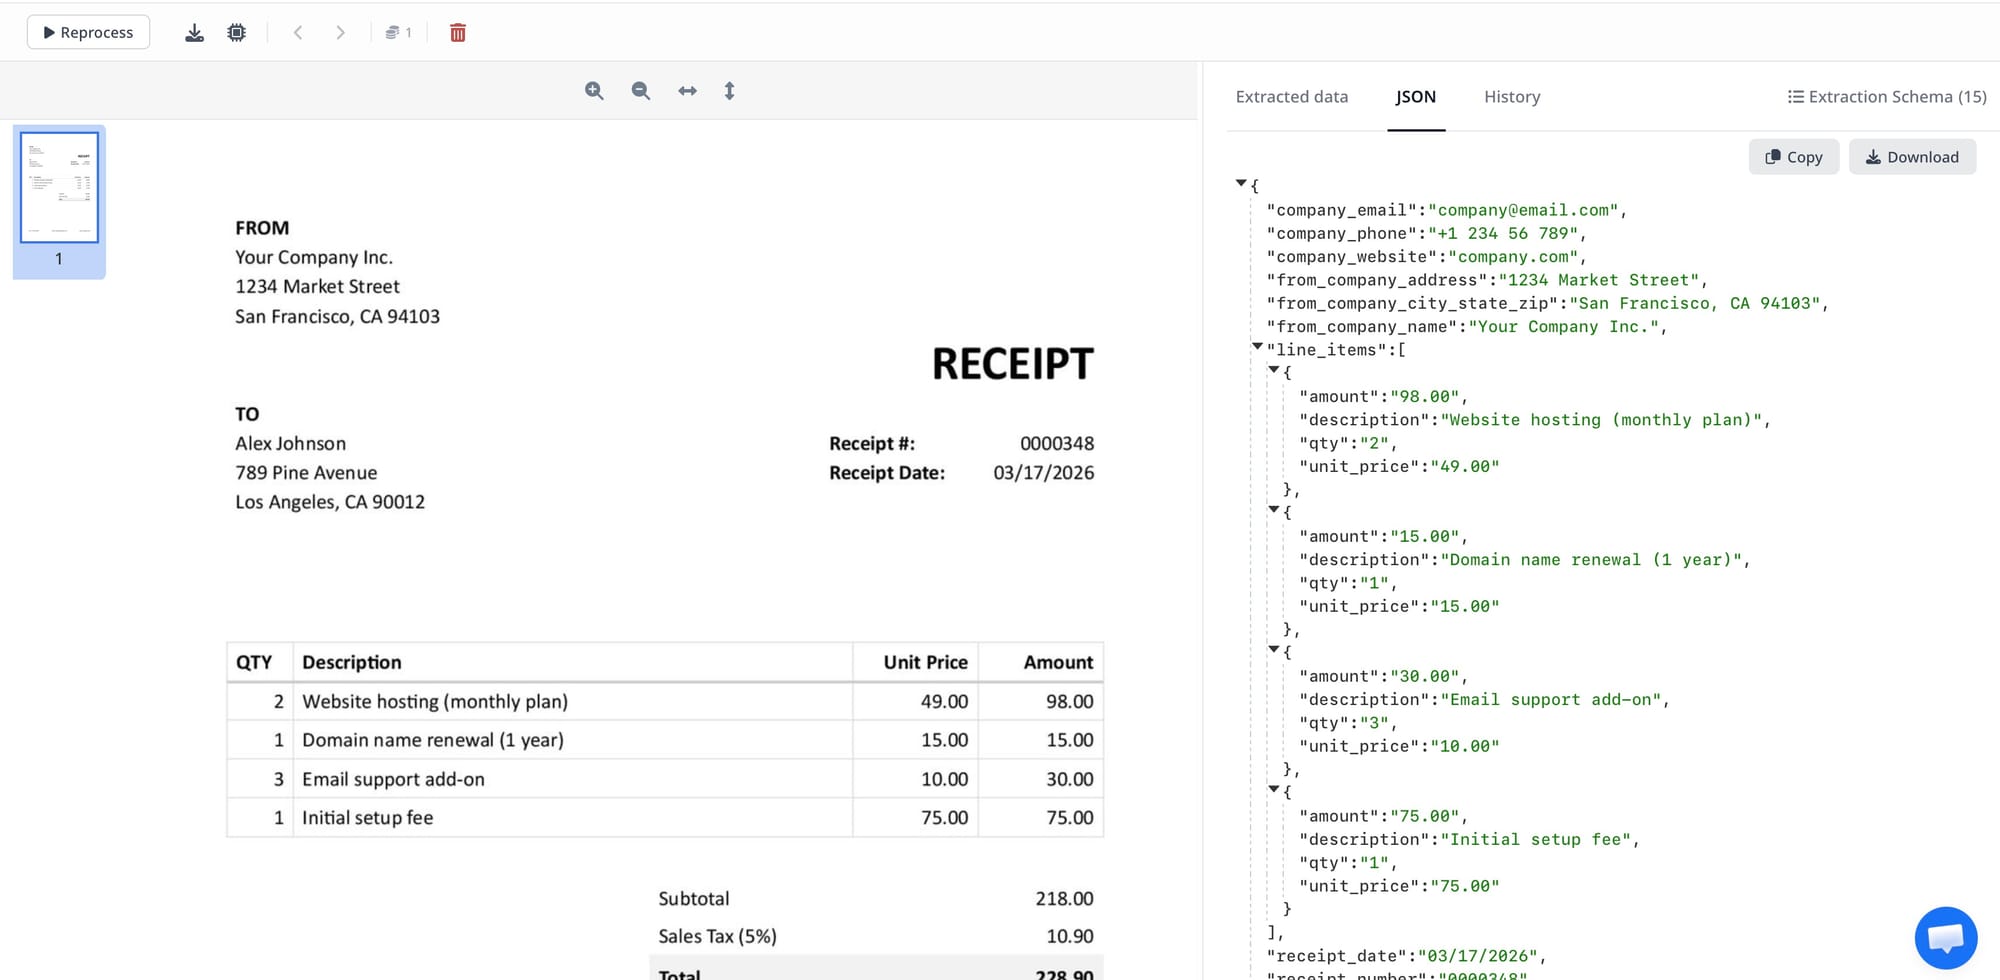
Step 4: Read the JSON response
If parsing completes within the sync request window, the response includes the parsed JSON immediately.
A simplified response looks like this:
{
  "doc_id": "64abc123def456",
  "parsing_in_progress": false,
  "status": "parsed",
  "name": "invoice.pdf",
  "json": {
    "invoice_number": "INV-2026-104",
    "invoice_date": "2026-04-15",
    "vendor_name": "Acme Logistics",
    "total_amount": 1250.00,
    "__meta__": {
      "external_id": 42
    }
  }
}
This is the key benefit: one request in, structured JSON out.
What if parsing takes longer?
The sync endpoint waits up to about 60 seconds.
If parsing takes longer, Airparser returns parsing_in_progress: true together with the document ID.
That gives you a clean fallback path if the file needs more time. But for most readers of this article, the important point is simpler: upload-sync is the easiest way to understand the workflow and see value quickly.
If you later need async uploads, polling, or webhooks, you can find those flows in the official public API docs.
Common mistakes to avoid
Using one inbox for unrelated document types
If invoices, resumes, and shipping documents all go into the same inbox, extraction quality drops quickly. Keep document families separate.
Overcomplicating the first setup
You do not need a perfect production schema to prove the workflow works. In many cases, the fastest path is to let Airparser generate the initial schema from the first real document, then refine it later.
Testing with only one perfect sample
Use a few real documents with slightly different layouts before you decide the workflow is done.
Thinking OCR and parsing are the same thing
OCR makes text readable. Parsing gives you structured output. The value of the API is in that structured output.
Why this is a good starting point
You can absolutely build direct document prompting workflows with GPT or Claude.
But if your goal is to show value quickly inside a real application, the Airparser sync flow gives you the shortest path:
- create inbox
- optionally let Airparser generate the schema from the first document
- upload file
- receive JSON
That is a much easier starting point than stitching together document ingestion, schema handling, and parsing logic yourself.
If you use AI coding assistants like Claude, Airparser also has an MCP server that lets you interact with your inboxes, upload documents, and retrieve parsed results directly from your AI tool.
Try it yourself
If you want to parse documents via API today, create a free Airparser account and you can have an inbox set up and a first document parsed in a few minutes. No upfront schema design required — upload a representative document and Airparser will generate the schema for you automatically.
Final thoughts
If you want the simplest possible way to parse documents via API, start with the sync endpoint.
The shortest path is:
- create an inbox
- either define the extraction schema or let Airparser generate it from the first uploaded document
- upload the document to
/upload-sync - read the JSON response
That is enough to go from raw document to structured data without building your own parser from scratch.
If you later need more advanced workflows, Airparser’s public API docs cover the rest. But for getting started, the sync flow is the easiest and clearest place to begin.